The Fastest Way to Tie a Perfect Bow on Your Gifts
After the year we’ve all been through, I’ll take any advice on how to make the holidays go smoother and leave 2020 on a high note. I’ve got a little gift-wrapping tip to make your holiday season a teensy bit easier!
Though I don’t do a lot of gift giving around Christmas, there are a few close friends with whom I exchange presents and I LOVE wrapping gifts. One small thing I struggled with for years was tying neat, fitted bows on gifts. That is, until I started working in retail. Working in retail during the holidays is where you learn all the gift-wrapping secrets.
I’m sharing my favorite gift-wrapping secret with all of you: how to efficiently and beautifully wrap and tie the perfect bow on your gifts. As my friend Nicolo puts it, the ribbon wraps the gift, not the other way around. I use this method every time I pack a jewelry purchase.
Here’s the video, written step-by-step instructions below:
Step-By-Step Instructions:
This method works with any kind of ribbon or string, but for this tutorial I’ll be using butcher’s twine. Unravel your twine but do not cut it yet - this will ensure you don’t cut it too short or waste any by cutting too long.
Start with a tail 3-5” long (or longer for large gifts), and hold it at the top of your gift, farthest away from you. Wrap the spool-end of the twine vertically around your gift first wrapping toward you, then down under the gift and away from you, before coming overtop again.
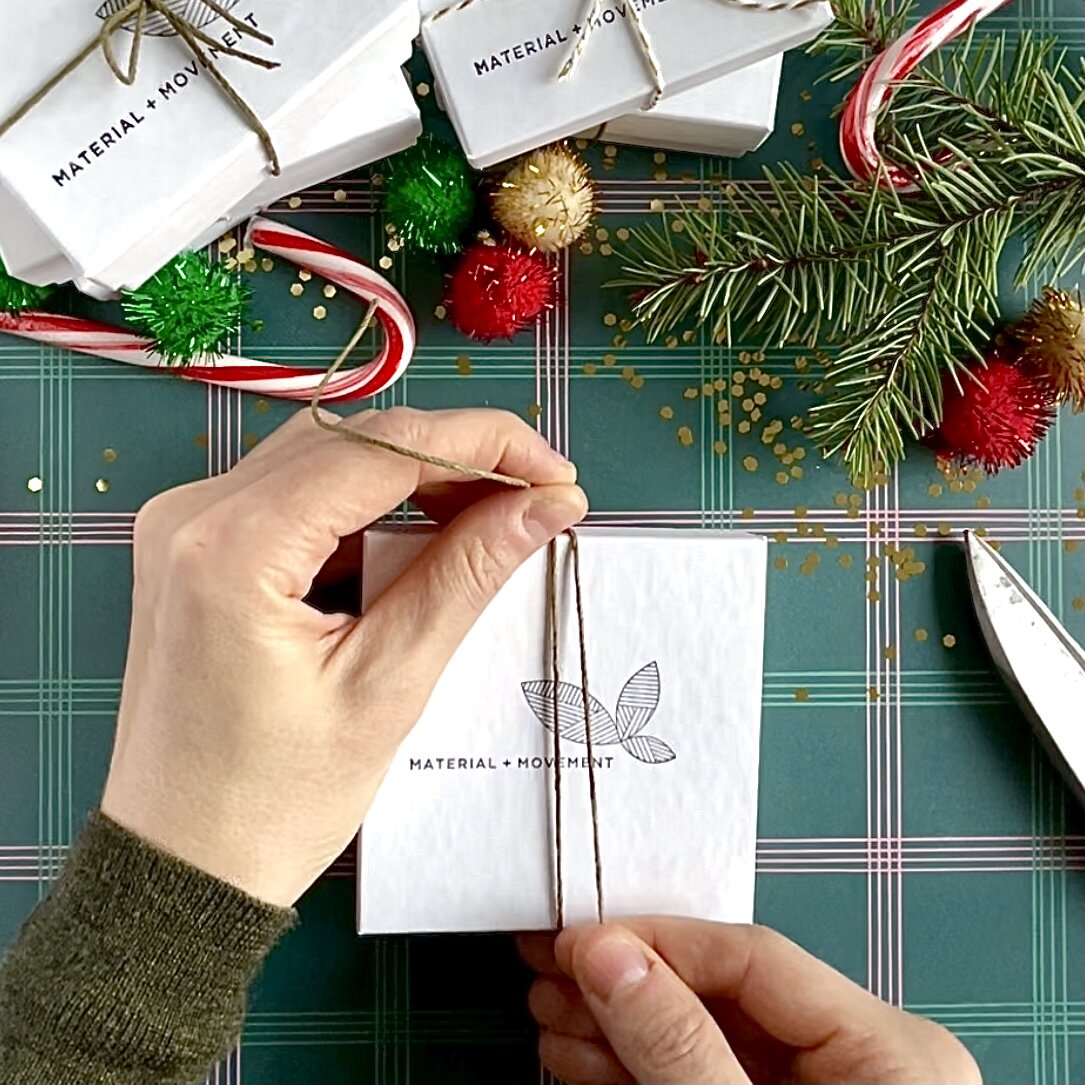
2. Holding onto both ends of the twine, rotate your gift 90 degrees counter clockwise (to the left). Hold the tail-end at the top of your gift once again, farthest away from you. Pull the spool-end toward you with the other hand. Your twine will twist itself. Wrap the twine vertically around the gift a second time, first toward you, then down under the gift and away from you, before coming overtop again.

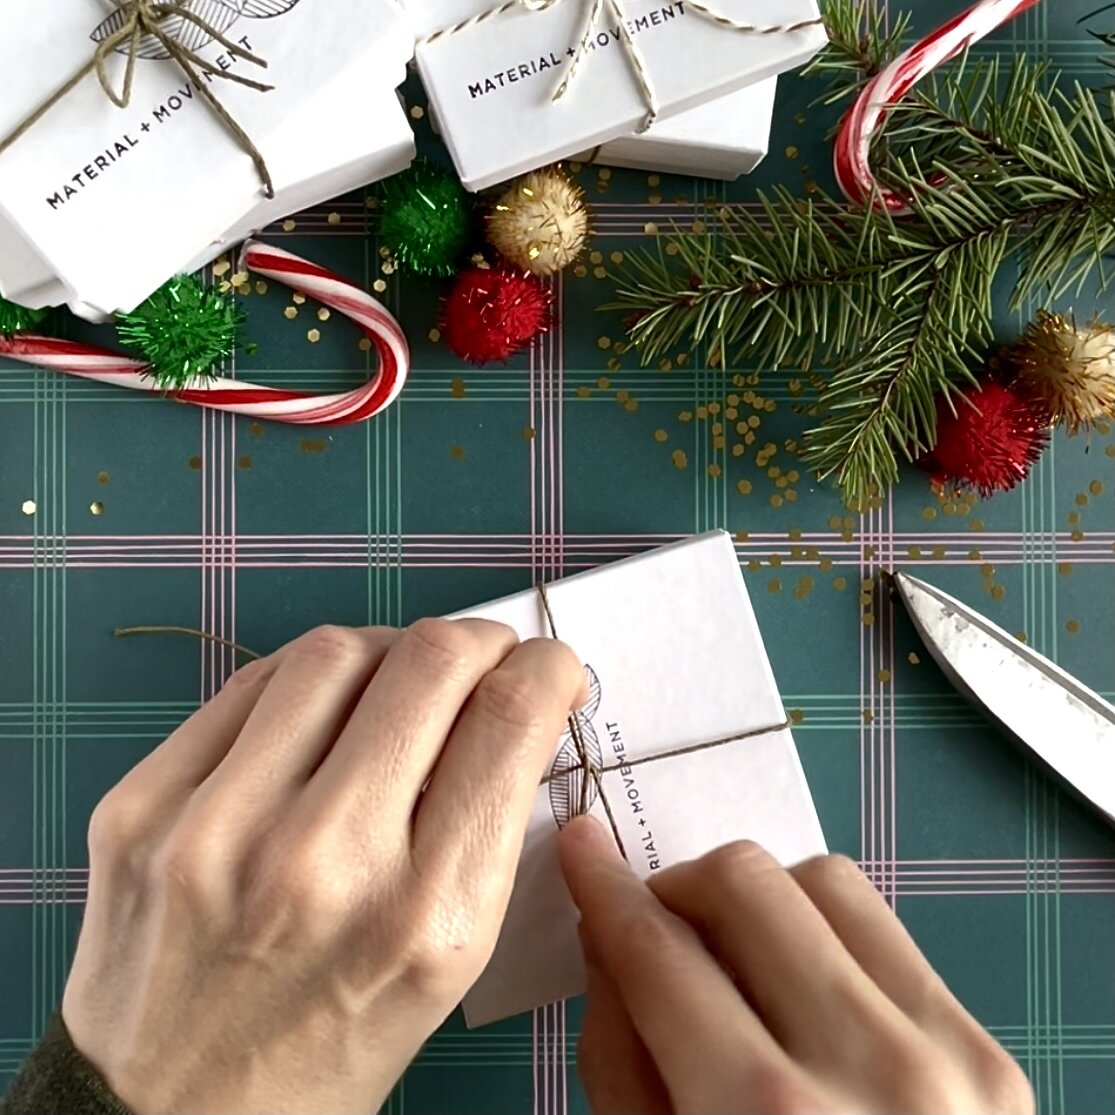
3. Use a finger to hold both ends down so you can cut the spool-end of the twine, leaving 3-5” to tie your bow (or again, longer for larger gifts). You will now have one end of the twine leading upward away from you, and the end you just cut leading downward toward you.

4. Take the end of the twine you just cut, and tuck it underneath the twist in the center, in the direction from the lower-left side to the upper right side of the gift. Pull both ends so they are snug.


5. Still holding onto both ends of the twine, rotate the gift back to its original position - 90 degrees clockwise (to the right). Tie your bow as you normally would.
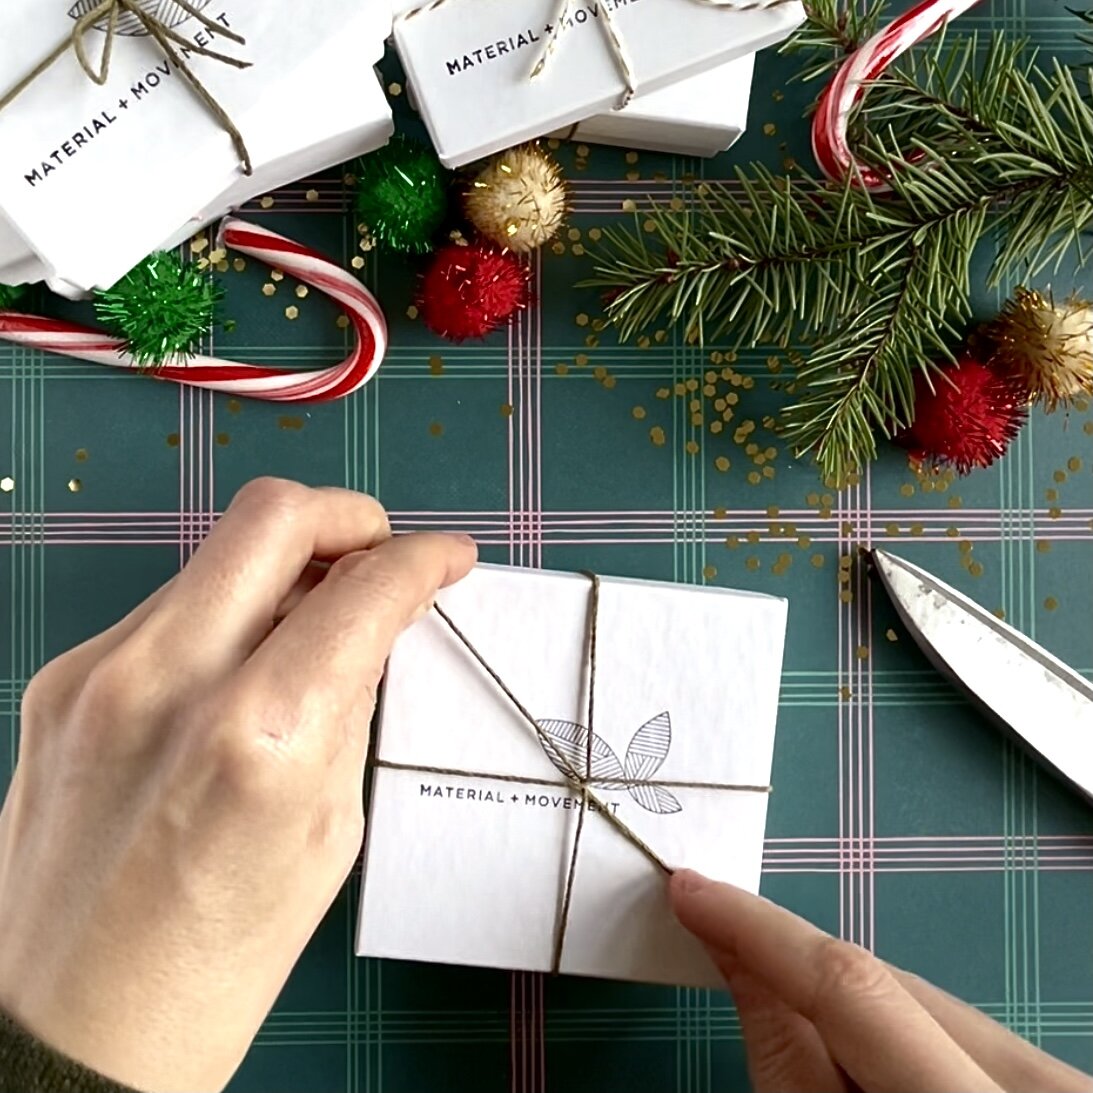


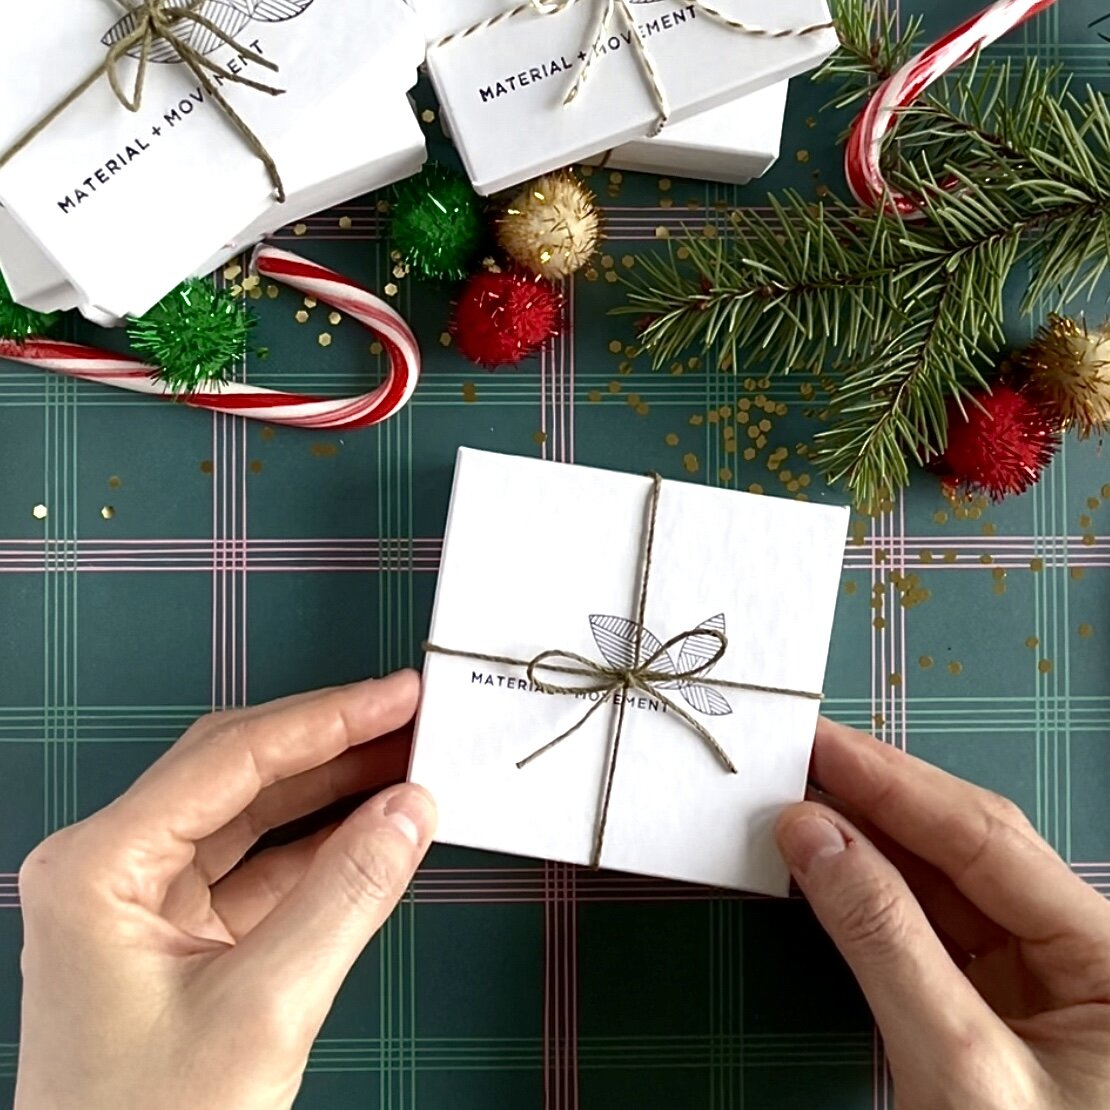
6. Adjust your bow and make sure it’s tight! Then cut the ends to your desired length.

7. Flip the gift over if you want to ensure the twine is even along all sides and slide the twine to adjust. Then admire your beautiful bow-wrapping skills!